-
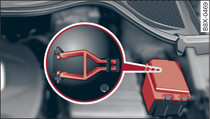
- Fig. 1 Engine compartment: Cover
-
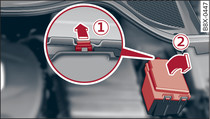
- Fig. 2 Engine compartment: Releasing cover
-
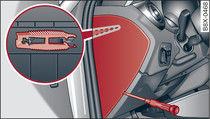
- Fig. 3 Dash panel (driver's side on left-hand drive vehicle): Cover
-
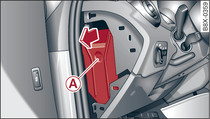
- Fig. 4 Dash panel (driver's side on left-hand drive vehicle): Cover*
-
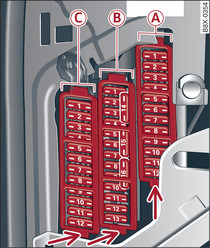
- Fig. 5 Dash panel (driver's side): Fuse carrier with plastic frames (illustration shows a left-hand drive vehicle)
To see whether a fuse has blown, check whether the metal strip has
melted.
Switch off the ignition and all electrical equipment.
Refer to the following tables to identify the fuse for the failed
component.
Pull the cover*
off (if fitted) in the
direction indicated by the arrow
Fig. 4.
If fitted, pull the coloured plastic frame out of the fuse carrier
Fig. 5 (you
can then dispose of the plastic frame).
Use the clip to pull out the fuse.
Blown fuses should always be replaced with a fuse of the same rating.
Fit the cover back on.
Colour coding for fuses
| Colour |
Rating in amperes |
|---|---|
| black |
1 |
| purple |
3 |
| light brown |
5 |
| brown |
7.5 |
| red |
10 |
| blue |
15 |
| yellow |
20 |
| white or transparent |
25 |
| green |
30 |
| orange |
40 |
WARNING!
Never attempt to repair a fuse or replace a blown fuse by fitting
a fuse with a higher ampere rating. This could damage the electrical
system – risk of fire!
Caution!
If a newly replaced fuse blows again after a short time, the electrical
system must be checked by a qualified workshop as soon as possible.
Note
- Unassigned fuse locations are not shown in the tables below.
- Some of the items of equipment listed in the tables below are only fitted on certain models or are optional extras.
- For right-hand drive vehicles, the fuse carrier can be identified by the colour rather than the letters (-A-, -B-, -C-).
